概述: windows系统编译OpenSSL 1.1.1版本操作步骤
[toc]
0x01、编译环境说明
- 操作系统:win10
- 编译器:vs2017
- OpenSSL: 1.1.1W
0x02、依赖工具说明
根据官方说明,OpenSSL编译除了Visual Studio 2019以外,为方便编译,需要安装Strawberry Perl和NASM,下载地址分别如下:
Strawberry Perl:Strawberry Perl for Windows
NASM:NASM,这是一个汇编器
**特别注意:**Perl安装后会自动添加到环境变量中,而NASM不会,一定要在环境变量Path中添加NASM.exe所在的目录,否则可能会出现意想不到的错误。
0x03、编译步骤
下载源码
从Github中可以直接下载:GitHub - openssl/openssl: TLS/SSL and crypto library](https://Github.com/openssl/openssl)
或者在 OpenSSL 官方去下载 OpenSSL
也可以参考官方文档进行编译:openssl/NOTES-WINDOWS.md at master · openssl/openssl
0x04、编译
-
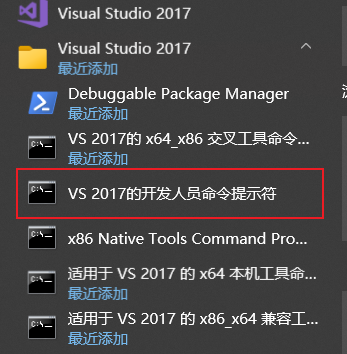
使用管理员权限打开 vs2017 的开发人员命令提示符
-
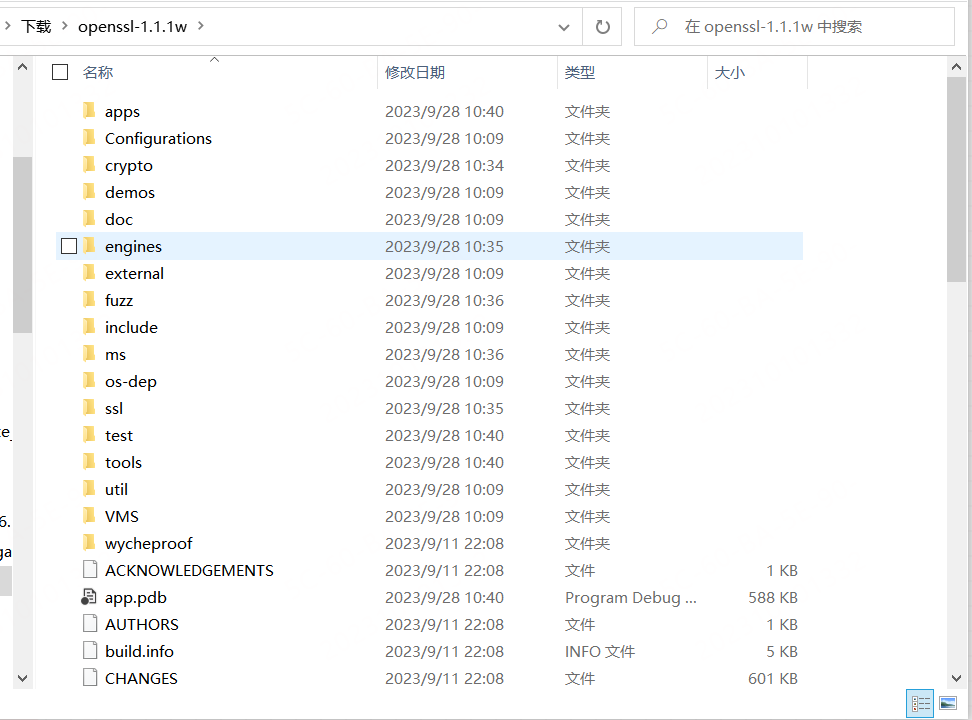
打开后切换到 openssl 解压目录:
-
配置 Perl,参考官方文档配置
-
perl Configure VC-WIN32if you want 32-bit OpenSSL or -
perl Configure VC-WIN64Aif you want 64-bit OpenSSL or -
perl Configure VC-WIN64-ARMif you want Windows on Arm (win-arm64) OpenSSL or -
perl Configure VC-WIN64-CLANGASM-ARMif you want Windows on Arm (win-arm64) OpenSSL with assembly support using clang-cl as assembler or -
perl Configure VC-CLANG-WIN64-CLANGASM-ARMif you want Windows on Arm (win-arm64) OpenSSL using clang-cl as both compiler and assembler or -
perl Configure VC-WIN32-HYBRIDCRTif you want 32-bit OpenSSL dependent on the Universal CRT or -
perl Configure VC-WIN64A-HYBRIDCRTif you want 64-bit OpenSSL dependent on the Universal CRT or -
perl Configureto let Configure figure out the platform
特别注意:—prefix选项指定的安装路径必须是绝对路径,若不指定,则默认会安装在
C:\Program Files (x86)\下面,如果你不是用管理员权限执行,则会出现*Permission Denied*错误,切记。perl Configure VC-WIN32 --prefix=E:\OpenSSL # 将其安装到 E:\OpenSSL 目录 -
-
nmake -
nmake test -
namke install
0x05、使用
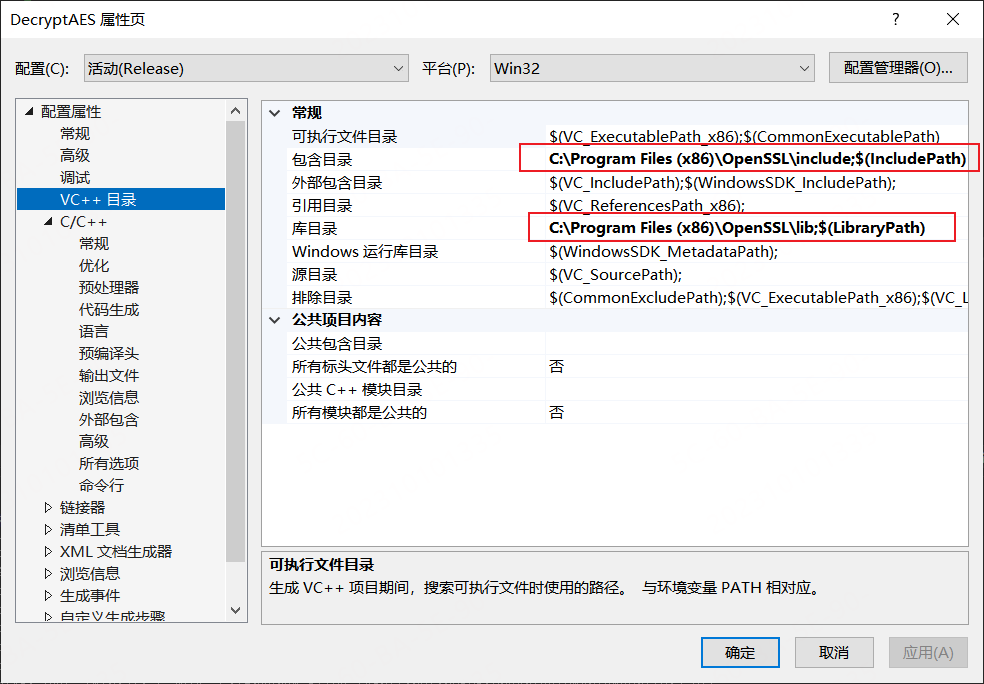
使用时,在工程引入文件和库文件添加 Openssl 安装目录即可。
0x06、补充说明
如果要编译 /mt、/mtd、mdd 等版本,则需要修改 makefile 文件。
使用 perl 命令后会生成 makefile 文件。
perl Configure VC-WIN32 --prefix=D:\OpenSSL-3.1-Win32-mtd

# 静态库
perl Configure VC-WIN32 shared no-asm no-shared --prefix="D:\OpenSSL-Static\mtd"

# Debug 版本
perl Configure debug-VC-WIN32 shared no-asm no-shared --prefix="D:\OpenSSL-Static\mtd"
makefile 文件修改 CNF_CFLAGS 配置,如下所示:
CNF_ASFLAGS=-f win32
CNF_CPPFLAGS=-D"OPENSSL_SYS_WIN32" -D"WIN32_LEAN_AND_MEAN" -D"UNICODE" -D"_UNICODE" -D"_CRT_SECURE_NO_DEPRECATE" -D"_WINSOCK_DEPRECATED_NO_WARNINGS" -D"OPENSSL_USE_APPLINK" -D"NDEBUG"
CNF_CFLAGS=/Gs0 /GF /Gy /MD # 修改为你需要编译的模式 /MD /MDd /MT /MTd
CNF_CXXFLAGS=
CNF_LDFLAGS=
CNF_EX_LIBS=ws2_32.lib gdi32.lib advapi32.lib crypt32.lib user32.lib
在编译一次之后如果需要重新编译,则需要清除缓存,清楚缓存命令:
nmake clean补充
完整编译如下:
perl Configure debug-VC-WIN64A no-asm --prefix=e:\openssl_x64\debug
nmake
nmake install
# 把e:\openssl_x64\debug改名为e:\openssl_x64\debug_mdd
# 完了之后把makefile文件以及configdata.pm文件里面的/MDD改为MTD
nmake clean
nmake
nmake install
# 把e:\openssl_x64\debug改名为e:\openssl_x64\debug_mtd

perl Configure VC-WIN64A no-asm --prefix=e:\openssl_x64\release
nmake clean
nmake
nmake install
# 把e:\openssl_x64\release改名为e:\openssl_x64\release_md
# 完了之后把makefile文件以及configdata.pm文件里面的/MD改为MT
nmake clean
nmake
nmake install
# 把e:\openssl_x64\release改名为e:\openssl_x64\release_mt